Installation Guide
How to Nail-Down Solid Strand Bamboo Flooring
If you have a Plywood or OSB subfloor on or above grade (ground level), a nail-down installation of your new Trinity Bamboo Solid Strand Bamboo flooring provides one of the most cost-effective and resilient installation methods available. Here's how to do it right.
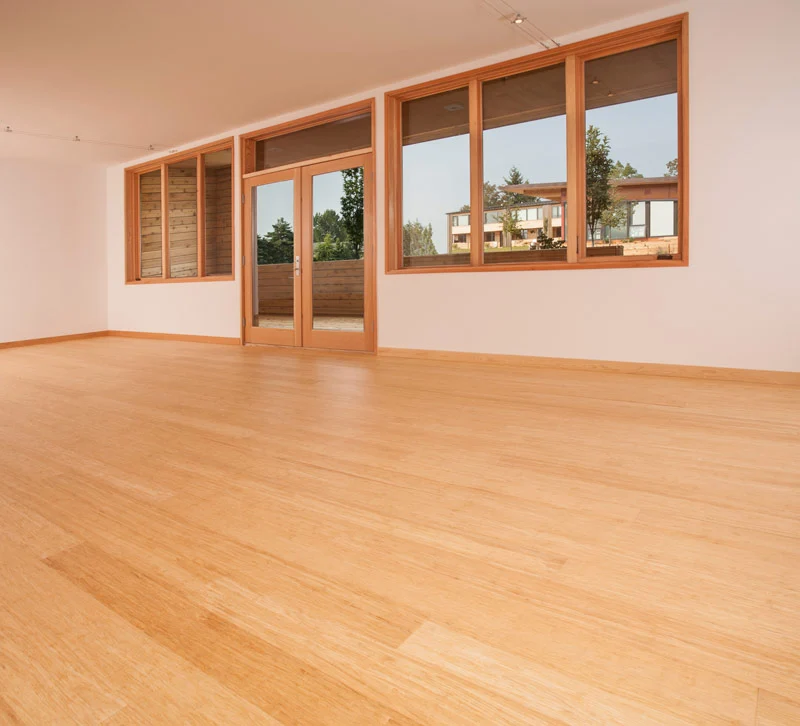
Why Nail-Down?
A nail-down installation is one of the most cost-effective and resilient methods available for solid strand bamboo flooring. Because the boards are fastened directly into the subfloor, the finished floor stays firmly anchored, handles heavy daily traffic well, and can be repaired plank by plank if a board is ever damaged.
What You Need
- A plywood or OSB subfloor on or above grade (ground level)
- Your Trinity Bamboo solid strand bamboo flooring
- A pneumatic flooring nailer and the appropriate nails
- Adhesive recommended for your subfloor type
- Acclimation materials such as kraft paper or building paper
- Measuring tools, spacers, and a chalk line
Trim pieces and installation accessories — including Eco Ultimate Silencer™ for noise reduction and Titebond 771-Step adhesive — are available in our flooring trim and accessories collection.
Step 1: Prepare the Subfloor
Walk the subfloor and check for any squeaks, loose boards, or protruding fasteners. Nail down or screw down any loose areas so the floor feels solid underfoot. The subfloor should be level, clean, and free of dust, paint, and adhesive residue before you begin.
Step 2: Acclimate the Flooring
Bamboo is a natural material that responds to moisture and humidity, so acclimation matters. Keep the flooring in the room where it will be installed, stacked with proper airflow, until its moisture content matches the room's conditions. Our acclimation guide explains the correct methods in detail.
Tip: Nail-down installation is generally used over plywood or OSB subfloors that are on or above grade. Below-grade concrete installations typically require a floating or glue-down method instead.
Step 3: Establish a Straight, Square Layout
Measure the room and plan the board direction before laying a single plank. Snap a chalk line to keep rows straight, and work from that reference rather than from the walls, which are rarely perfectly straight. Leave an expansion gap at the perimeter and confirm it as you go.
Step 4: Lay the First Rows
Set the first row using spacers to hold the expansion gap. Nail each board at the appropriate points along the tongue, then check that the row is straight before fastening. Work across the floor in a staggered pattern so seams never line up from row to row.
Step 5: Nail and Secure
Continue nailing each plank as you go, working across the room in a consistent, staggered pattern. Check each board for a flush, tight fit before fastening it, and make sure the nail heads sit below the surface so the boards sit flat.
Step 6: Finish and Protect
Complete the last row with the same care, cutting boards to fit while keeping the expansion gap intact. Sweep the floor and remove all debris. Allow the finished floor to settle before adding rugs, furniture, or baseboards, and use felt pads under furniture legs to protect the surface.
Tips for a Resilient, Long-Lasting Floor
- Acclimate the flooring properly before installation to help prevent cupping and gaps later on.
- Follow the recommended relative humidity range for your home's climate.
- Check that the subfloor is sound, level, and dry before nailing.
- Keep interior humidity levels stable to protect the finish and the boards.
- Follow the maintenance guidance in our blog to extend the life of your floor.
More installation, acclimation, and maintenance articles are published regularly on the Trinity Bamboo blog.
Subfloor & Finished Floor Examples


Ready to Install?
Pick up the trim, silencer, and adhesive you need for a nail-down strand bamboo installation, and browse all of our brands of strand bamboo flooring.